How to Get the Best Deer Pictures on A Trail Camera
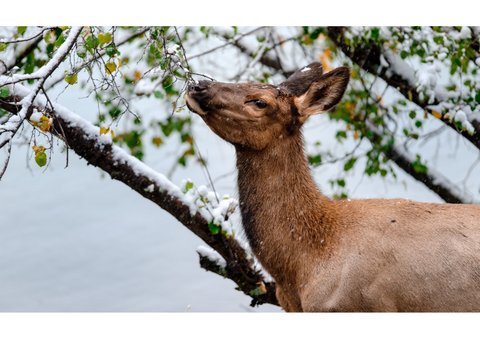
Deer videos and photos
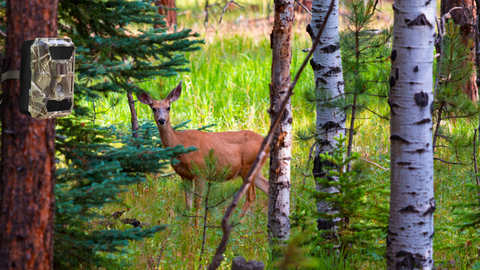
Ever wondered what the difference between a trail camera and a deer camera is? Actually, it’s a trick question, there isn’t one. It’s because trail cameras are so commonly used to capture photos and videos of deer, that people often refer to them simply as deer cameras.
That’s why we thought it’d be the perfect animal to start with in our new series of articles and videos looking at how to get the best animal pictures on WingHome trail camera. So strap yourself in as we look at the best places and time to strap on your trail camera for that perfect deer shot.
If you have any questions after reading, or would like to get in touch to learn more about trail cameras, please contact us via email or visit our WingHome Facebook Page, where you can message us directly.
Where?
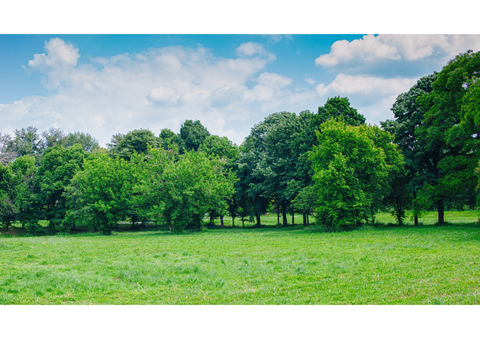
Deer habitat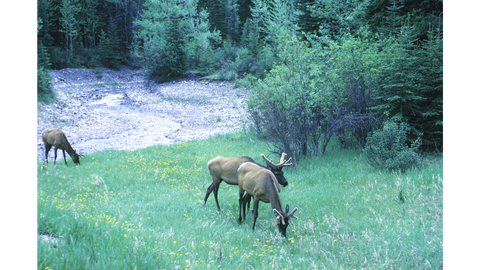
Unless you’re lucky enough to live in a rural area with a large backyard, chances are you’ll have to do a bit of traveling to find habitat suitable for deer.
So where to go? Unfortunately, it might not be as easy as making a beeline to the nearest forest. Deer favor what’s called an ‘interspersed’ habitat, meaning one that provides not only forest cover, but also meadows, brushy areas and croplands, giving deer the shelter they require, whilst also allowing opportunities for intermingling and feeding.
If you’ve now got the perfect spot in mind, cool your boots before rushing there, trail cam in hand. First, check that the area is public land. If it’s not, you’re going to need to find out who the landowner is and get his or her permission to set foot on it, otherwise you could end up the one getting shot, and not just on camera.
Deers locations
You’ve found the haystack, now you got to go about finding the needle. Actually, it’s quite a bit easier than that, since deer, just like all animals (including ourselves) follow predictable patterns of behavior.
If you’re a deer, most of the time you’re going to be doing one of three things: resting, feeding or traveling between resting areas and feeding areas. This means that there are three locations, corresponding to the three activities, to keep in mind:
1. Resting (or bedding) areas
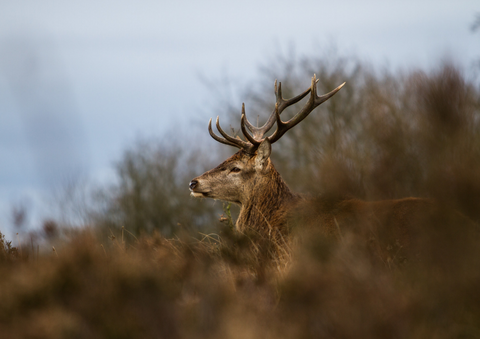
Finding this kind of area is the trickiest, since around 70% of a deer’s habitat could provide adequate bedding area. But they especially like areas that provide sufficient protection, so hollows with a lot of forest or brush cover are places to keep an eye out for. But easy access to drinking water is important, so look for nearby streams. And so is warmth, which is why they usually prefer southward-facing slopes.
But as mentioned, narrowing down bedding areas can be tough, so it’s better to look for….
2. Feeding areas
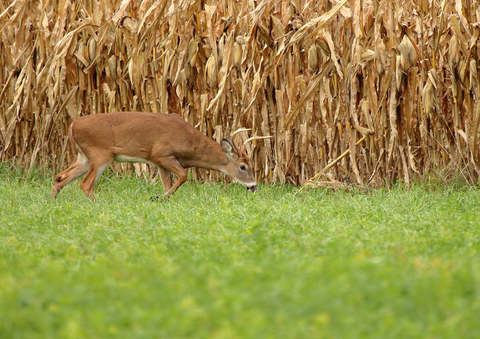
These are often a better bet for mounting your trail camera, since suitable areas make up only about 2 - 3% of a deer’s habitat, so they’re much easier to locate. But just as with all animals, deer’s diet changes according to the season.
During the warmer months, there’s obviously a much larger range of dietary options on offer, so deer can get their favorites, corn or soybean. If you manage to locate a corn or soybean field bordering on a forested area, then bingo, you’ve found a prime deer feeding area.
Things change in winter though, as deer become under increased pressure to find food. This is why you’ll usually find deer in mixed coniferous forests, so that in winter they can feed on the leaves, twigs and buds of woody plants, commonly referred to as ‘browse’.
Obviously, ‘browse’ is widespread throughout the forest, so, at least at the beginning of winter, it’s going to be hard to pick the right spot.
But as winter proceeds, all the ‘browse’ at deer level will eventually be eaten up, meaning it will become easier to locate suitable areas. You could also step in and help the deer out by collecting browse out of their reach and putting it on the forest floor, with your trail cam mounted nearby of course.
3. Funnel points
As we saw, in early winter, feeding areas can be extremely undefined. It might also be the case that the deer live in areas where all-year-round there are large numbers of potential feeding areas. So what’s the final option in this case?
You’re going to have to continue to play detective at this point and take advantage of the deer’s need to move around within their habitat, between feeding areas and bedding areas.
Of course, generally speaking, areas that just allow movement are extremely undefined. However, there will be naturally occurring features that constrict the possibilities of movement, including canyons, isthmuses, trails through dense thickets and narrow belts of forest.
Discovering such ‘funnel points’ can let you narrow down your search massively. Hook up a trail cam in one of these areas and you’re bound to capture a deer as it passes by.
Deer tracks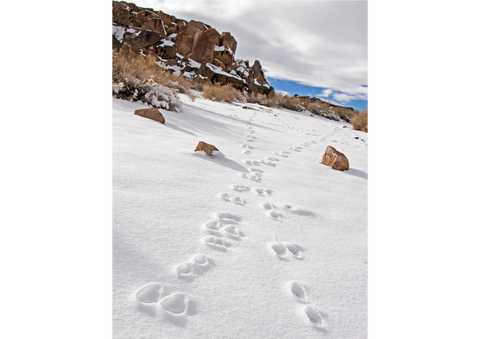
Confident you’ve located a likely deer habitat, plus narrowed it down to a likely hot-spot of deer activity? Then you’re going to want to have that confidence confirmed by finding actual visible evidence of deer having already been in the vicinity.
The best and simplest way is by using the oldest trick in the book, tracking. Deer tracks are pretty easy to identify. They actually look a lot like a pair of lungs, only with a more pointed end and two small holes just behind.
But you want to make sure the track is reasonably fresh, and not an old track of some long-departed herd. So ensure the track isn’t well frozen over and messed up by many other animal tracks over the top of it.
Deer droppings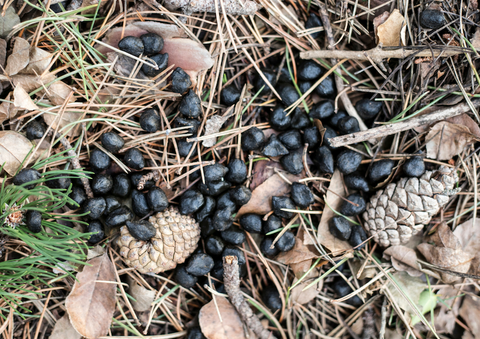
Another kind of track, as it were, is it’s droppings. Don’t worry, you’re not going to have to pick through it or smell it, just by looking you’ll likely be able to tell whether it’s from a deer or not.
Strangely enough, they look a lot like small bullets, that are sometimes found in clumps, and sometimes individually scattered. But a lot depends on the deer’s diet, which depends on the season, so generally speaking, the colder the season, the smaller and harder the droppings.
So I think we’re pretty much covered for the place to look for deer to get that perfect photo. Now we’ve got to decide on the time…
When?
Photo timer
One of the most useful features of a trail camera is the timer, allowing for control over what specific time of day the motion sensors can be triggered. If you know when the animal you want to capture is active, it’s definitely worth using this feature, as it can drastically improve the battery life of your camera.
Night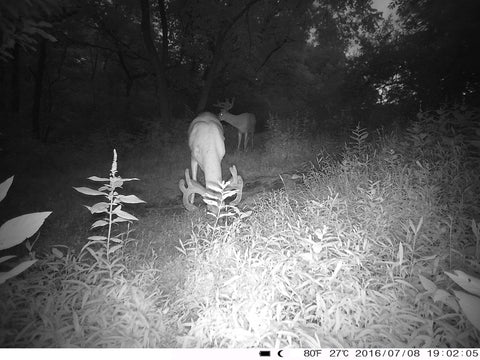
Deer are generally nocturnal animals, so if you’re after definite results, set a night vision trail camera’s timer for the wee night hours. The downside to this though is that night vision is pretty demanding when it comes to battery life, plus you’re only going to get black and white photos, which may not be what you’re after.
Luckily though, deer are active during a short window of the daytime for….
Deer feeding times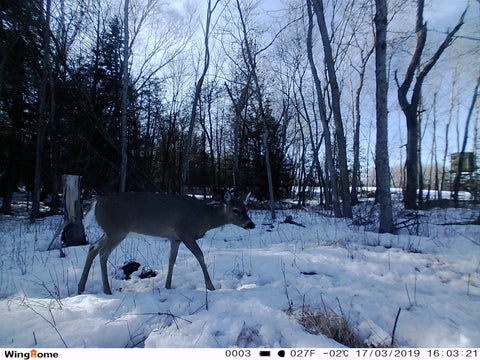
These are at dusk and dawn, as the deer wake up and go to bed.
This is the real advantage of trail cameras over regular cameras. If you were going to use a regular camera to take shots of deer in person, you’d have to get up in the very early hours, or risk being stuck in the forest after the sun sets.
But with a trail camera, just set it to go at these times and you can stay at home with your feet up, excited about all the amazing deer photos you’re getting.
That’s all for now. Thanks for reading and if you’re interested to learn more about a trail camera with night vision and timer features, plus super-fast trigger speed for capturing even the fastest-moving deer, take a look at our WingHome 350C trail camera.
As always, happy trails from the WingHome team!