3 Tips about How to Position Trail Camera for the Best Shots
In general, we usually use our trail cameras in such a way - after leaving them sitting in the woods for weeks, it almost like Christmas morning when we get up to check what’s in the Christmas stocking. The only difference might be that we are likely to be disappointment instead of getting a surprise. After plugging the SD card of trail camera into computer or checking photos directly on the camera’s screen, open the folder and that’s when the disappointment begins. There are a few basic rules of taking good pictures with trail camera, you should have paid attention to them. Do remember do not act in haste.
So what do you really need to keep in mind when you are thinking of taking good pictures with trail camera in the early stage of the hunting?
Camera selection
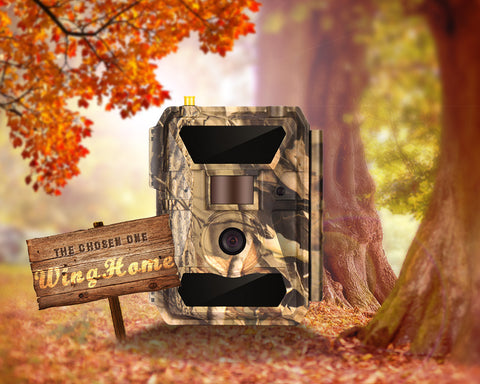
It is necessary to have effective tools to do good work. So you must have to choose a good trail camera at first. Here I am willing to introduce WingHome trail camera to you. Let me tell you what makes it stand out of the peer?
As one of the best basic models of WingHome products, WingHome 350C is characterized by its 0.4s fast trigger time and the high definition (2560x1920) images it can take. And you cannot ignore that WingHome 350C trail camera can capture more with wider range, since it has a trigger angle of 80°, lens angle of 100° and trigger distance of 65 ft.
Camera Angle
The trail camera angle is one of the most critical point to keep in mind, since it will affect how your pictures look and determine whether you can get any good pictures at all. If you have chosen the wrong angle without confirming anything, maybe you will get bunches of below – the – knee shots. Don’t mount your camera too high or too low. The sweet spot of positioning the trail camera is about 3~4 feet off the ground. You may want to keep the height higher if you are interested in large animal or lower if you want turkeys and squirrels.
Once you set the game camera up, put it on the tree by choosing a certain place. Before you leave it though, take some pictures to have a test. Walk through the camera assuming that you are the wandering deers, and then check these photos. If you are out of the frame, Wow, you have just saved yourself weeks of time. So that you can finally mount your trail camera correctly.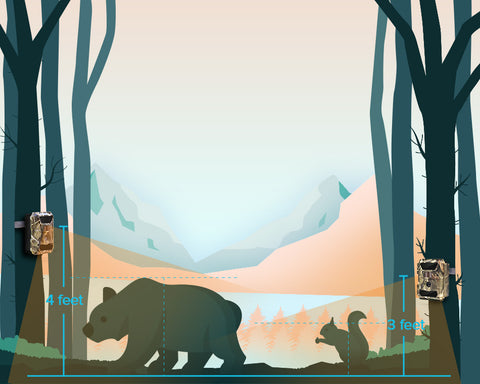
Contrast
We usually define the contrast as the light exposure of your game camera pictures. Too little light and you won’t be able to see anything clearly, but too much light means your pictures will be overexposed and hazy-looking. There are a few things you can do to help with this issue.
The simplest and most effective way is to place your trail cameras where they won’t be sensitive to the sunlight. If you place them in an open field, maybe it works in cloudy days, but it also tends to overexpose the pictures when the sun is shining brightly.
There’s an unwritten trick – north is the best direction. At least, make sure your camera is not facing directly into the sunrise or sunset. The noticeable change of the sunlight will make the pictures blurred or whited-out.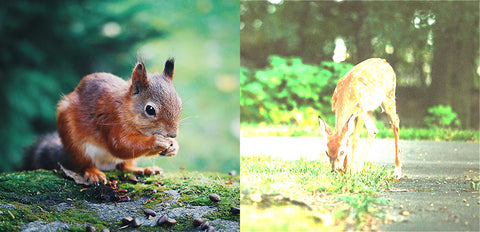
Note: Please be sure to keep the batteries fully charged, because the power supply of the camera also affects the effect of the photos.